Applies To: QD Desktop Application
About: The processing and indexing of content stored on local hard drives and file servers require the installation of a lightweight desktop application. The main purpose of the desktop application is to monitor file systems for file additions, deletions, and modifications and then send that data back to QD’s servers for processing and indexing. It is also advisable to install the desktop application on end user computers where no files are to be indexed because the secondary job of the application is to provide the conduit to enable the use of the “open button.”
Solution:
Steps to install QD Client Application:
Download QD Client Application
We request you to follow the below steps: -
- Uninstall the previous client application.
- Now, run the new installer as administrator and install the new build.
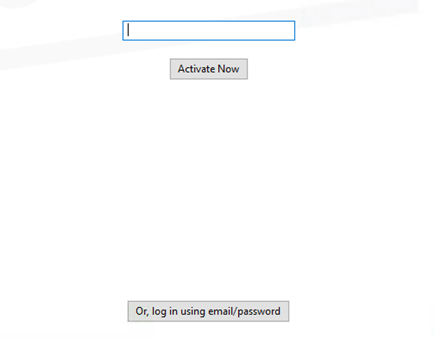
- Click on “Get Code” or “login Using email/password” at the bottom and login into QD.
- Browse your paths you want to sync.
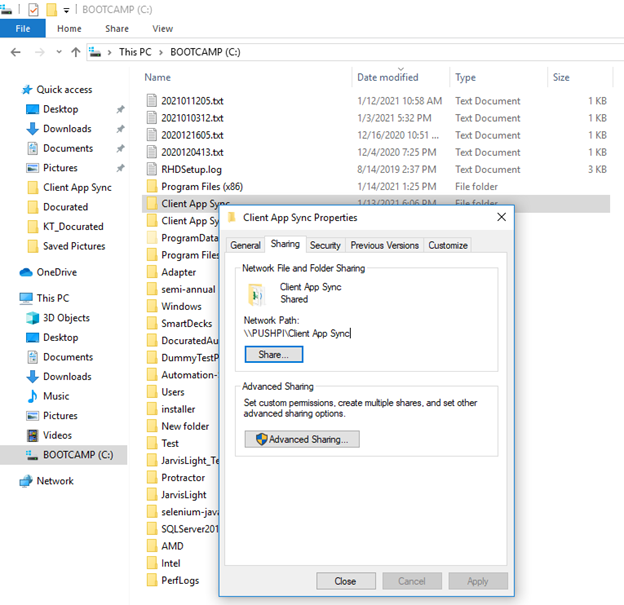
- Browse – your system folder that was mapped to client App. – Use network Path
Ex-
Client App Sync (file://<folder name>/Client%20App%20Sync)
\\<folder name>\Client App Sync
Network Path- Right click folder> give access to people > Share > copy network path.
OR
- Share the folder at C drive with specific set of people + group
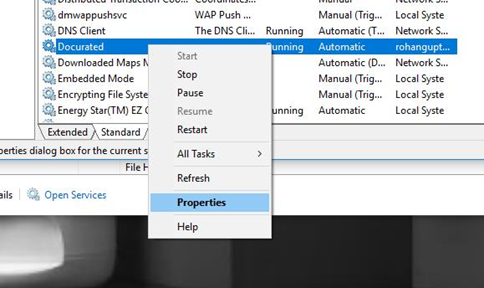
- Now go to windows Services.
- Give the administrator permissions to QD service,
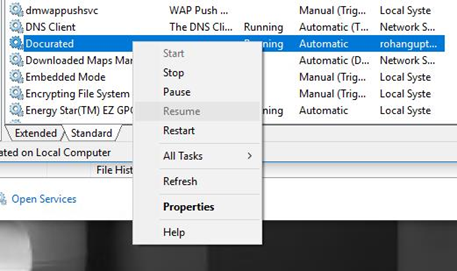
Open System Services->Docurated Client Service and click on "Properties."
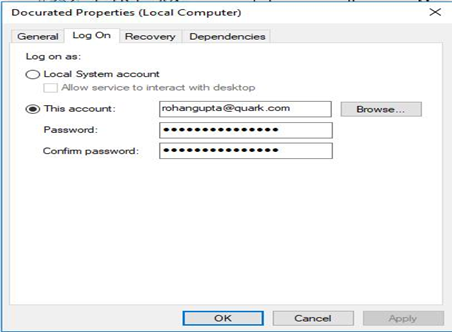
- Click on "Log On" Tab and change the logon user and set it to "This account" and enter your credentials(Your admin account credentials) and Click Apply.
- Now, Stop the Service.
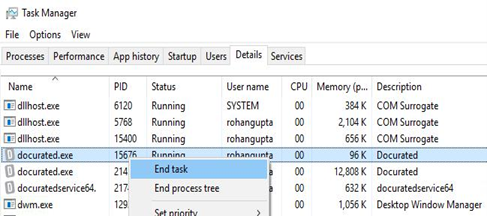
- Open Task Manager and kill all QD application running.
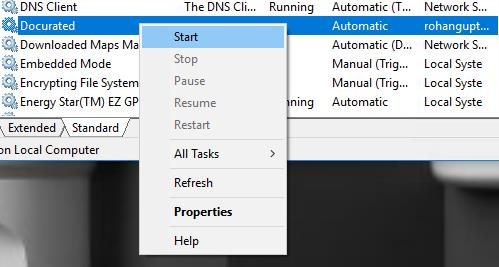
- And start the service again.
Priyanka Bhotika
Comments